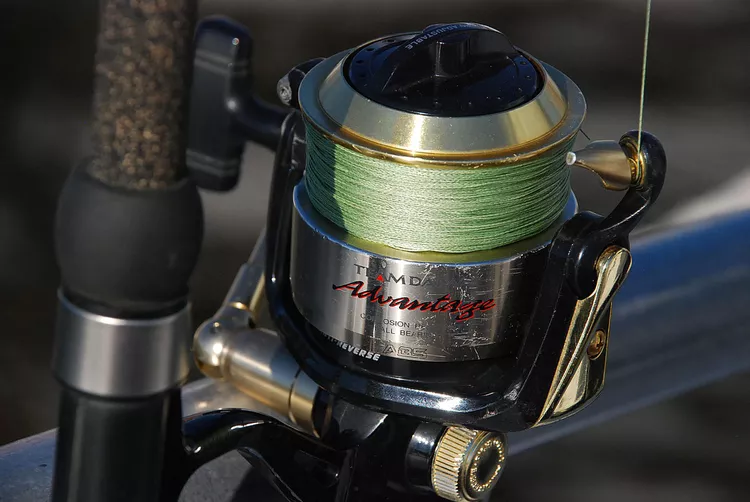
Mastering the Art of Spooling Fishing Reels
How you put line on the spool of a baitcasting, spinning, and spincasting reel is crucial for minimizing line issues and ensuring a trouble-free fishing experience.
Importance of Proper Spooling
Improper spooling of line, particularly nylon monofilament, can lead to twist. Nylon monofilament possesses memory and can develop a “set” from its long-term storage on the plastic supply spool. Furthermore, line on a supply spool is slightly coiled due to the manufacturer’s spooling process. Generally, the coiling effect is less pronounced in higher-quality lines, those that come off large-diameter supply spools, and in braided or fused microfilament lines. On the other hand, a small supply spool is more likely to introduce coiling problems, making lines from large spools the better choice.
Line on baitcasting reels is usually free from twisting problems due to how it is wound straight onto the spool’s arbor. Conversely, lines on spinning and spincasting reels are particularly prone to twisting because the spool remains stationary while a moving arm wraps the line around it, often inducing a twist.
How to Properly Spool Line
For all three reel types, the key to successful spooling is observing how the line comes off both sides of the supply spool. Remove line from the side with the least visible coiling and apply moderate pressure before it reaches the reel.
To start spooling, mount the reel on the rod and run the line from the supply spool through the rod guides, starting at the top. For a spinning reel, open the bail, securely tie the line to the spool arbor using an Improved Clinch Knot, cut off any excess tag end, and close the bail. For a spincasting reel, remove the hood, feed the line through the hood hole, tie it to the arbor, snip the excess, and reattach the hood. For baitcasting reels, run the line through the line-winding guide, firmly tie it around the arbor, and snip off the excess.
Position the supply spool on the floor or a flat surface so the line balloons or spirals off as you pull it up. With the line threaded through the rod guides and attached to the reel, hold the rod tip 3 to 4 feet above the supply spool. Turn the reel handle fifteen to twenty times, then check for line twist by reducing tension on the line.
Lower the rod tip to one foot above the supply spool and observe if any slack line twists or coils. If it does, flip the supply spool upside down to eliminate most twists while winding the remaining line onto the reel. If the opposite side exhibits greater coiling or twisting, return to the first side and remove the line while it remains face-up.
The essence is to always take the line from the side with minimal coiling. This technique effectively counter-spools the line on spinning or spincasting reels, mitigating the curling tendencies that may otherwise arise.
While some may suggest using a pencil or similar object inside a spool to allow it to run freely during spooling, this method is less effective than the previously discussed techniques. Although it may work for baitcasting reels, it can exacerbate twisting issues on spinning and spincasting reels.
The Importance of Tension
Maintaining moderate tension on the line with one hand while reeling with the other is crucial when filling any baitcasting, spinning, or spincasting reel. Do this by holding the line between your thumb and forefinger with your free hand. Failing to apply this tension may result in a loosely wound reel, leading to complications such as overwrapped loops during fishing.
Braided or fused microfilament lines require greater tension compared to nylon monofilaments when spooled onto the reel. Insufficient tension can cause wraps of line to become buried into a loosely packed spool, particularly when fighting larger fish. Consider wearing a glove if necessary to prevent the microfilament line from cutting into or burning your fingers as you apply tension.


