Summary
Landscape Photography has always been the cornerstone of great travel photos. There is significantly more to it than merely pointing your camera at a scene and pressing the shutter button. When examining the most breathtaking landscape photographs, it becomes clear they all share certain key qualities.
By following these 10 landscape photography tips, you can create truly stunning images that capture the beauty of your travels.
1. Scout Your Location
The first rule in producing impressive landscape photos is to scout your location in advance. Most of the breathtaking shots you see didn’t happen by accident. Consequently, they often result from careful planning and timing. You can start preparing even before you embark on your trip.
Using Google Maps and Google Earth, you can navigate your destination and familiarize yourself with the area.
When you arrive at your destination, you will already know how to get there, when the best light arrives, and where you need to be to capture it.
Pro Tip: Always arrive a little early to explore and decide on the best composition.
2. Use a Tripod
To achieve the highest quality photos, a tripod is essential. Landscape photography typically occurs during low light conditions, such as at sunrise or sunset, where small apertures and slow shutter speeds are common.
A sturdy foundation ensures your image will be sharp and noise-free, allowing you to focus on crafting the perfect shot.
If you’re interested in my camera gear, check out “Travel Photography Gear: What’s in My Bag?”
Moreover, if you aim to capture long exposure photos that accentuate movement (like clouds or flowing water), a tripod is essential since it’s nearly impossible to hold the camera steady enough for such shots.
3. Maximize Your Depth of Field (DOF)
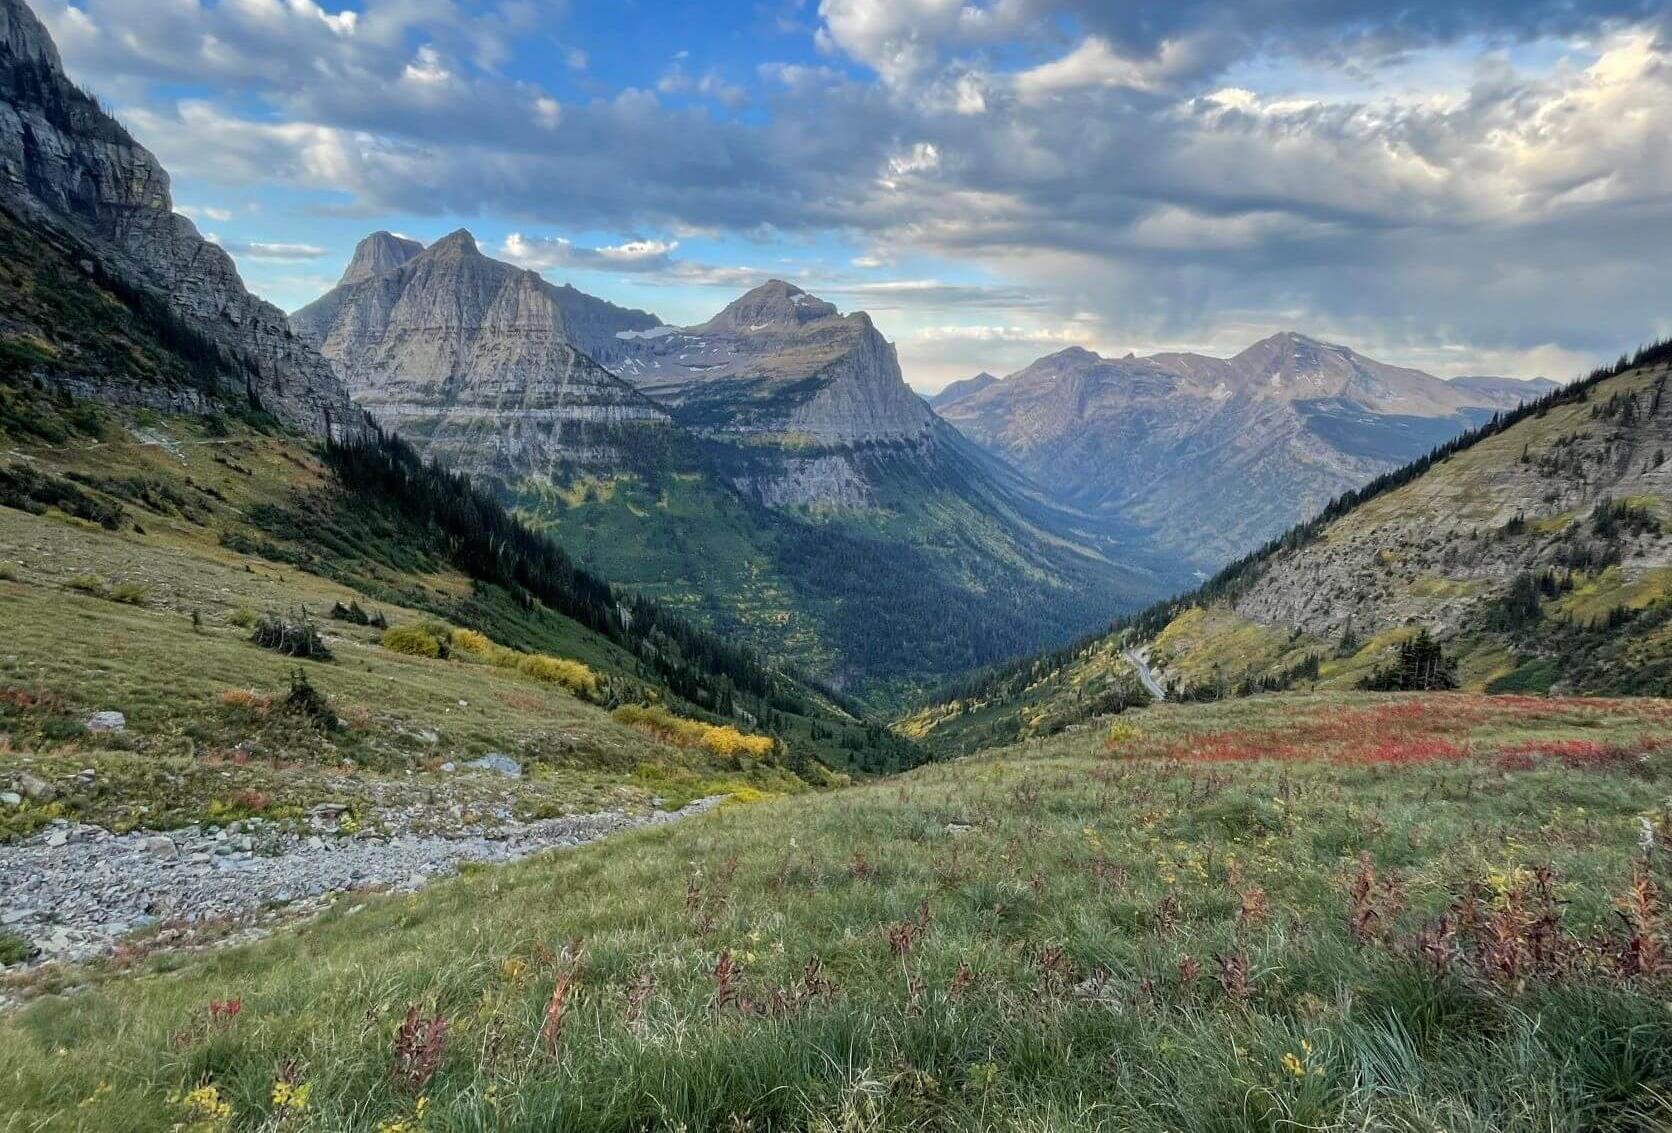
In most cases, ensure you’re shooting with a small aperture to keep the entire scene in focus from the foreground to the background.
Begin by setting your camera to AV (Aperture Priority) mode, allowing you to prioritize aperture settings. Start with an f/stop of f/8, gradually increasing to f/11 or higher until you achieve full focus throughout the image.
Pro Tip: Use your Depth of Field (DOF) preview button to see what works best for your scene.
In certain situations, you might wish to create a specific effect with a shallow DOF, such as isolating a subject in the foreground. Thus, always remember that rules are meant to be broken.
4. Wait for the Light
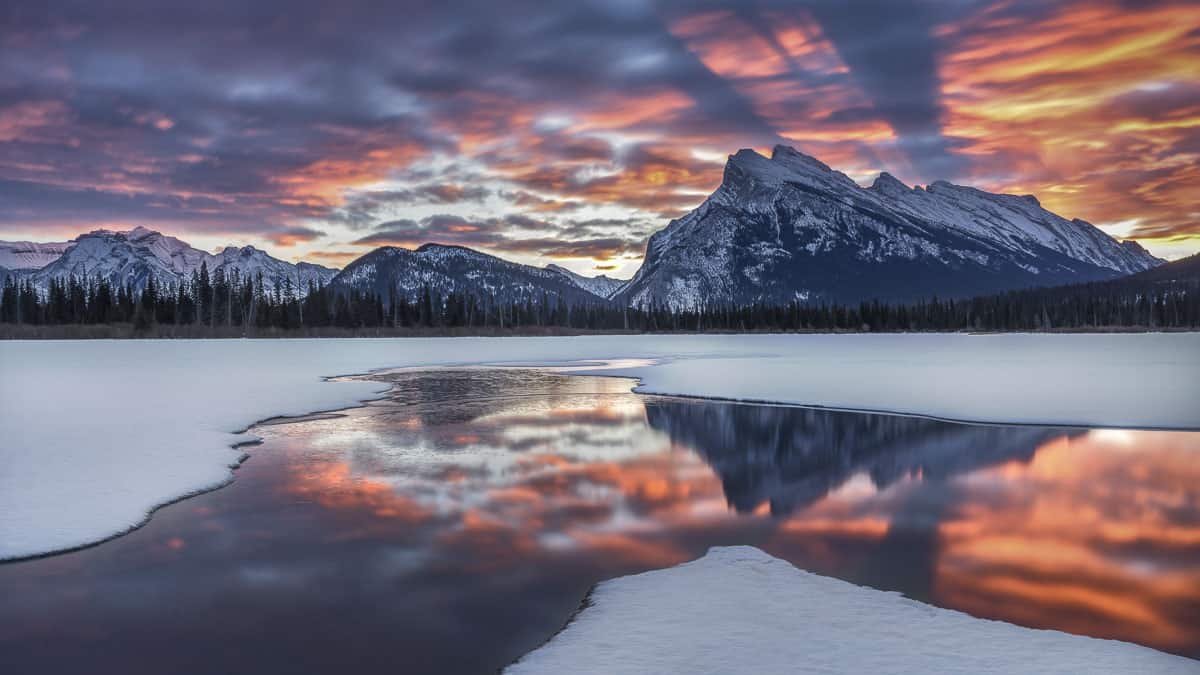
Great light can significantly enhance your photos, particularly in landscape photography. The most visually appealing light tends to occur at sunrise, sunset, and during the golden hour—the time just before or after the sun dips below the horizon.
Even if you have the best techniques and framing, poor lighting conditions can lead to disappointing results. Therefore, it’s crucial to understand various types of light and their impacts on your images.
Do long shadows from sidelight add texture to your shot?
Does front light intensify the clouds, or does backlight create a more dynamic scene?
5. Use a Wide Angle Lens
Wide-angle lenses are an absolute necessity for landscape photographers. When aiming to capture expansive views, breathtaking canyons, and vast skies, having one in your camera bag is invaluable.
These lenses offer a wider depth of field and typically allow the use of faster shutter speeds, making them essential for capturing beautiful landscapes.
For optimal results, I recommend a 16-35mm zoom lens. This lens provides a wide enough view without significant distortion, while still retaining versatility for other photography needs. A must-have for any travel photographer.
6. Add Foreground Interest
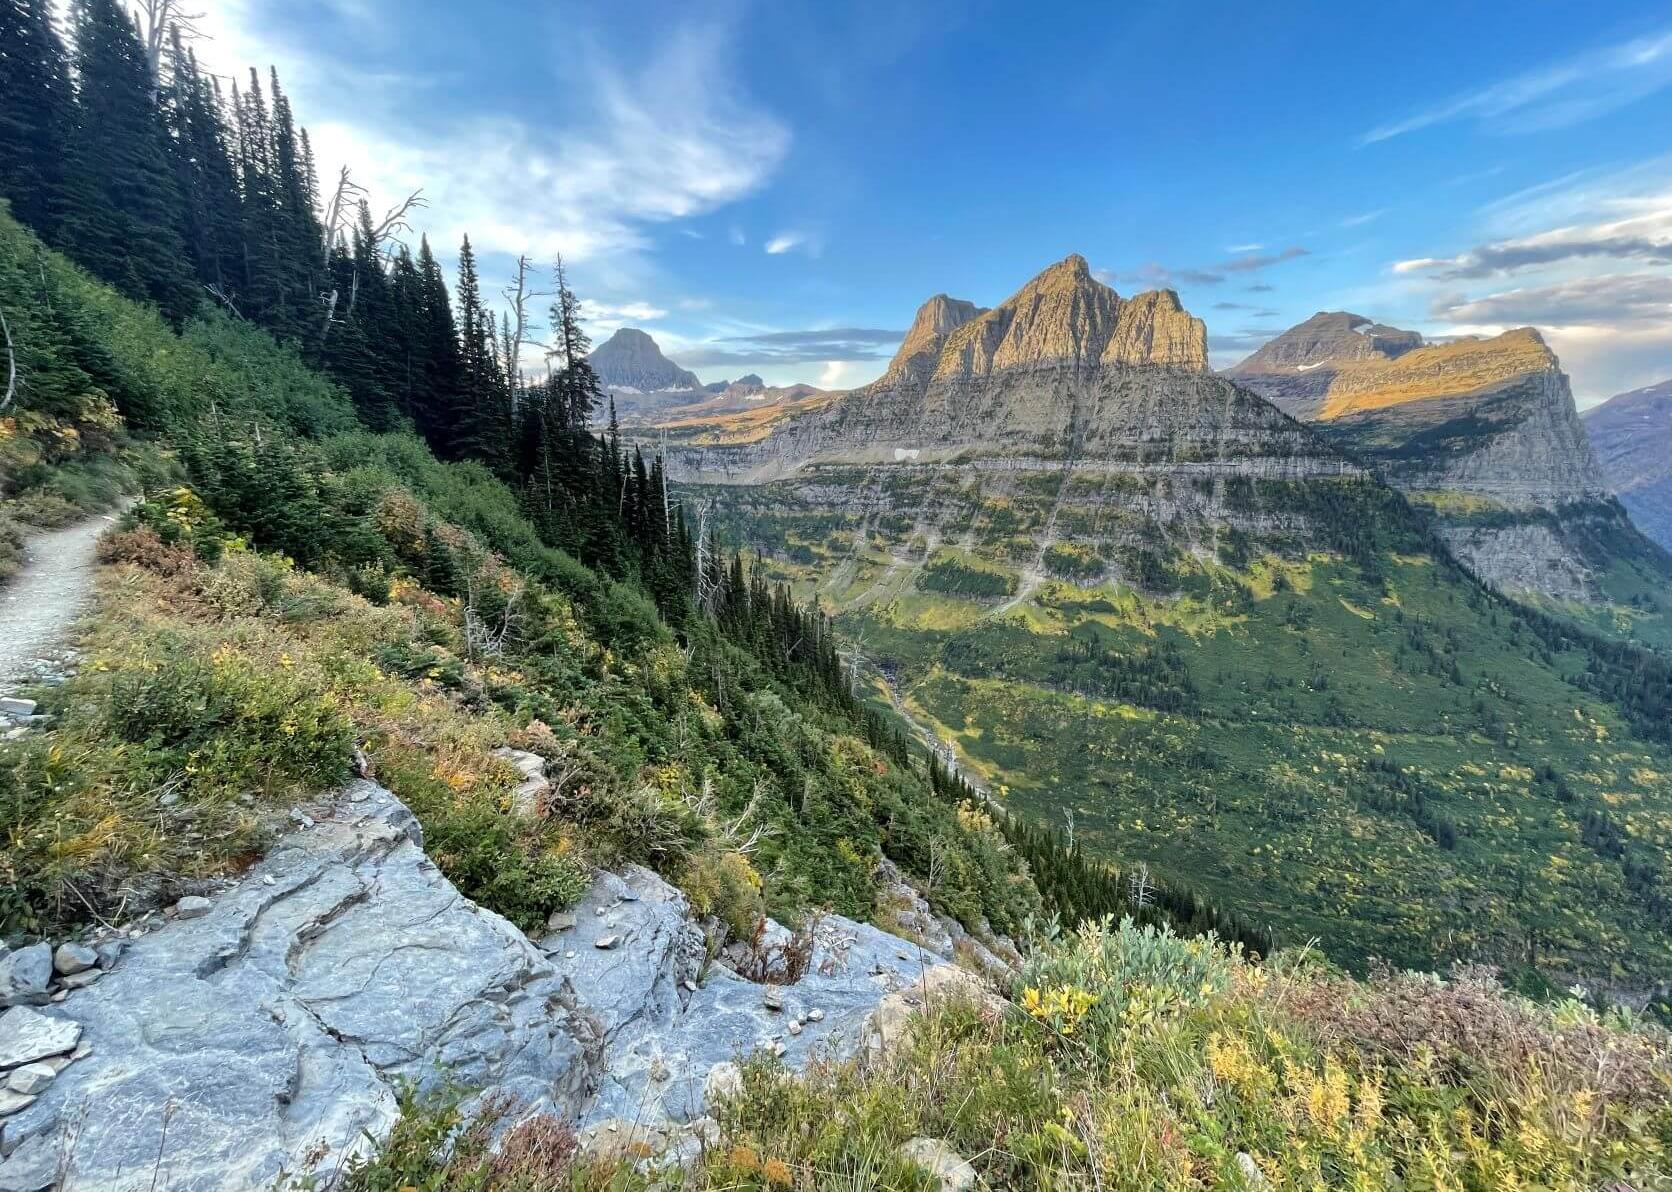
Incorporating foreground elements can elevate your landscape photographs. Adding objects like rocks, flowers, or flowing water can help create balance within the scene.
Furthermore, it draws the viewer into the image, creating a more engaging composition. Look for leading lines in textures such as rocks, rivers, or fences—elements that guide the viewer’s eye to the center of the photo.
7. Get Creative with Scale
The essence of a captivating landscape photo is its ability to transport viewers to that location. While some natural vistas may evoke this feeling intuitively, others may need a helping hand.
When photographing expansive spaces, like deserts without much texture, placing a person in your shot can illustrate the enormity of the scenery. This technique transforms what could be a mundane photograph into a striking image with greater impact.
8. Use Neutral Density and Polarizing Filters
My philosophy has always been to get it right in-camera; less post-processing usually results in a better final image. Neutral Density filters and polarizers should be standard tools in every landscape photographer’s equipment kit, granting you control over lighting and accentuating natural elements.
Neutral Density Filters
One major challenge in landscape photography is achieving a balance between the bright sky and the darker foreground. Gradual Neutral Density filters can help significantly.
Gradual Neutral Density filters darken the sky while keeping the foreground lighter, resulting in a well-balanced composition.
Pro tip: While post-production options exist, getting it right on location is always preferable.
Additionally, I utilize Solid Neutral Density Filters when aiming for slow shutter speed effects, creating silky water or streaky clouds. These filters allow me to control the light entering the camera, thus slowing down the shutter speed and incorporating dynamic movement into my photography.
Polarizing Filters
Polarizing filters excel at eliminating unwanted reflections, especially when photographing water. They also help saturate colors, particularly in lush green forests.
However, remember they are most effective when the sun is positioned at a 45 or 90-degree angle to your shot. If the sun is directly in front, you may not notice any significant difference.
9. Turn Off Your VR or IS (Vibrations Reduction, Image Stabilization)
When shooting on a tripod, it’s advisable to disable the vibrations reduction feature on your lens. Image stabilization lenses are designed to minimize vibrations; however, they may cause unnecessary movement if they detect none, resulting in out-of-focus images.
10. Use a Remote Shutter Release or 2 Second Timer
For longer exposure shots, it’s crucial to avoid any contact with the camera when pressing the shutter button, as this can cause unwanted camera movement. Utilizing a Remote Shutter Release allows you to capture images without physical contact. If you lack this tool, most DSLRs and mirrorless cameras feature a timer function you can utilize.
Final Thoughts
Landscape photography should not be daunting. By implementing these expertly crafted landscape photography tips, you can elevate your images and refine your photographic skills.


